spring cloud的hystrix还有一个配搭的库hystrix-dashboard,它是hystrix的一款监控工具,能直观的显示hystrix响应信息,请求成功率等.但是hystrix-dashboard只能查看单机和集群的信息,如果需要将多台的信息汇总起来的话就需要使用turbine.
注:这一个系列的开发环境版本为 java1.8, spring boot2.x, spring cloud Greenwich.SR2, IDE为 Intelli IDEA
hystrix-dashboard
hystrix-dashboard只要在上一篇的hystrix的基础上稍微修改下就可以了.
添加依赖
依赖文件pom.xml需要添加一些信息.
 1
 2
 3
 4
 5
 6
 7
 8
 9
10
11
12
13
14
15
16
17
18
19
|
        <dependency>
            <groupId>org.springframework.cloud</groupId>
            <artifactId>spring-cloud-starter-netflix-hystrix</artifactId>
        </dependency>

        <dependency>
            <groupId>org.springframework.cloud</groupId>
            <artifactId>spring-cloud-starter-netflix-hystrix-dashboard</artifactId>
        </dependency>

        <dependency>
            <groupId>org.springframework.cloud</groupId>
            <artifactId>spring-cloud-starter-netflix-eureka-server</artifactId>
        </dependency>

        <dependency>
            <groupId>org.springframework.boot</groupId>
            <artifactId>spring-boot-starter-actuator</artifactId>
        </dependency>
|
需改启动类
 1
 2
 3
 4
 5
 6
 7
 8
 9
10
11
12
13
|
@SpringBootApplication
@EnableDiscoveryClient
@EnableFeignClients(basePackages = "com.xingyys.hystrix.remote")
// 添加以下注解
@EnableHystrixDashboard
@EnableCircuitBreaker
public class HystrixApplication {

    public static void main(String[] args) {
        SpringApplication.run(HystrixApplication.class, args);
    }

}
|
修改配置文件
spring cloud 2.x版本和1.x版本不同,需要修改配置文件
1
2
3
4
|
# ......
# application.properties
management.endpoints.web.exposure.include=hystrix.stream
management.endpoints.web.base-path=/
|
测试
重新编译后开始测试
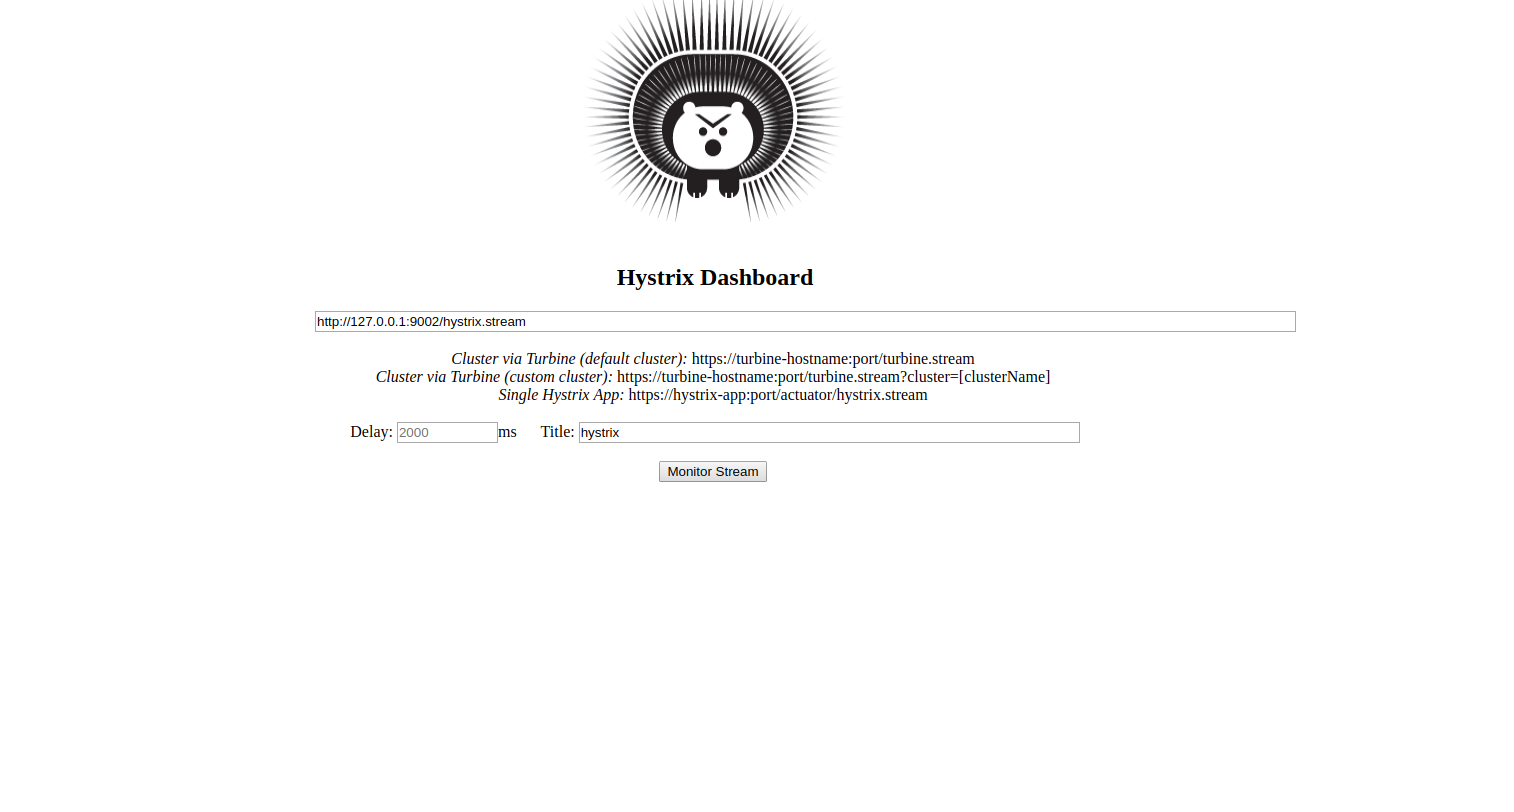
浏览器访问http://127.0.0.1:9002/hystrix出现以下页面:

浏览器访问: http://127.0.0.1:9002/hystrix.stream出现以下信息
1
2
3
4
5
|
ping:

data: {...}

data: {...}
|
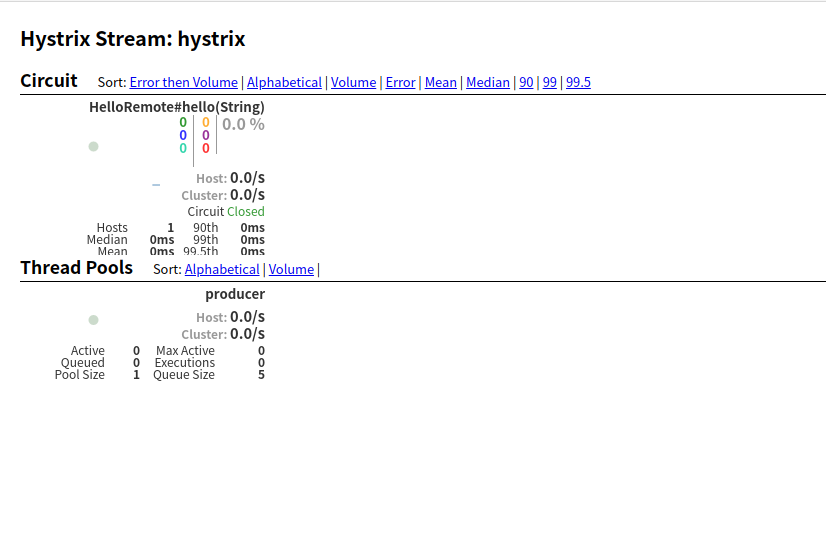
同时在http://192.168.1.13:9002/hystrix页面中检测http://127.0.0.1:9002/hystrix.stream ,点击monitor stream跳转页面:
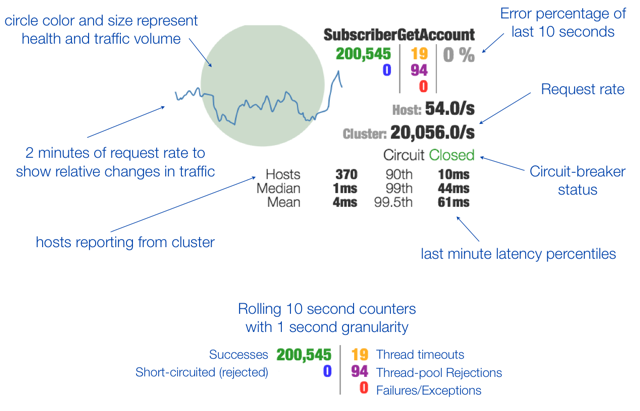
 hystrix-dashboard显示的各项信息含义:
 到这里,单节点的监控就完成了.
注:如果一直显示Loading…, 刷新 http://127.0.0.1:9002/hello/xxx页面即可.
turbine
接下来我们来看看在多台节点中的监控工具Turbine是如何配置.
创建工程
首先我们还是先来创建一个工程应用,命名为turbine
依赖文件
修改依赖文件pom.xml
 1
 2
 3
 4
 5
 6
 7
 8
 9
10
11
12
13
14
15
16
17
18
19
20
21
22
23
24
25
26
27
28
29
30
31
32
33
34
35
36
37
38
39
40
41
42
43
44
45
46
47
48
49
|
    <properties>
        <java.version>1.8</java.version>
        <spring-cloud.version>Greenwich.SR2</spring-cloud.version>
    </properties>

    <dependencies>
        <dependency>
            <groupId>org.springframework.boot</groupId>
            <artifactId>spring-boot-starter</artifactId>
        </dependency>

        <dependency>
            <groupId>org.springframework.cloud</groupId>
            <artifactId>spring-cloud-netflix-turbine</artifactId>
        </dependency>

        <dependency>
            <groupId>org.springframework.cloud</groupId>
            <artifactId>spring-cloud-starter-netflix-hystrix-dashboard</artifactId>
        </dependency>

        <dependency>
            <groupId>org.springframework.cloud</groupId>
            <artifactId>spring-cloud-starter-netflix-eureka-server</artifactId>
        </dependency>

        <dependency>
            <groupId>org.springframework.boot</groupId>
            <artifactId>spring-boot-starter-actuator</artifactId>
        </dependency>

        <dependency>
            <groupId>org.springframework.boot</groupId>
            <artifactId>spring-boot-starter-test</artifactId>
            <scope>test</scope>
        </dependency>
    </dependencies>

    <dependencyManagement>
        <dependencies>
            <dependency>
                <groupId>org.springframework.cloud</groupId>
                <artifactId>spring-cloud-dependencies</artifactId>
                <version>${spring-cloud.version}</version>
                <type>pom</type>
                <scope>import</scope>
            </dependency>
        </dependencies>
    </dependencyManagement>
|
配置文件
修改配置文件application.propertoes
 1
 2
 3
 4
 5
 6
 7
 8
 9
10
11
12
13
14
15
16
17
18
19
20
|
spring.application.name=turbine

server.port=8081
# 配置Eureka中的serviceId列表,表明监控哪些服务

turbine.app-config=node01,node02
# 指定聚合哪些集群,多个使用”,”分割,默认为default。可使用http://.../turbine.stream?cluster={clusterConfig之一}访问

turbine.aggregator.cluster-config=default
# 1. clusterNameExpression指定集群名称,默认表达式appName;此时:turbine.aggregator.clusterConfig需要配置想要监控的应用名称;
# 2. 当clusterNameExpression: default时,turbine.aggregator.clusterConfig可以不写,因为默认就是default;
# 3. 当clusterNameExpression: metadata[‘cluster’]时,假设想要监控的应用配置了eureka.instance.metadata-map.cluster: ABC,
# 则需要配置,同时turbine.aggregator.clusterConfig: ABC
turbine.cluster-name-expression=new String("default")

eureka.client.service-url.defaultZone=http://localhost:8000/eureka

# spring cloud 2.x版本需要作的改动
management.endpoints.web.exposure.include=turbine.stream
management.endpoints.web.base-path=/
|
启动类
 1
 2
 3
 4
 5
 6
 7
 8
 9
10
11
|
@SpringBootApplication
@EnableHystrixDashboard
// 激活对turbine的支持
@EnableTurbine
public class TurbineApplication {

    public static void main(String[] args) {
        SpringApplication.run(TurbineApplication.class, args);
    }

}
|
测试
开始测试前,需要对hystrix应用做修改,添加两个配置文件application-node01.properites和application-node02.properties.
application-node01.properites
 1
 2
 3
 4
 5
 6
 7
 8
 9
10
|
spring.application.name=node01

server.port=9003
# 其他和consumer相同,主要是hystrix的配置
feign.hystrix.enabled=true

eureka.client.service-url.defaultZone=http://localhost:8000/eureka/

management.endpoints.web.exposure.include=hystrix.stream
management.endpoints.web.base-path=/
|
application-node02.properites
 1
 2
 3
 4
 5
 6
 7
 8
 9
10
|
spring.application.name=node02

server.port=9004
# 其他和consumer相同,主要是hystrix的配置
feign.hystrix.enabled=true

eureka.client.service-url.defaultZone=http://localhost:8000/eureka/

management.endpoints.web.exposure.include=hystrix.stream
management.endpoints.web.base-path=/
|
hystrix启动类
 1
 2
 3
 4
 5
 6
 7
 8
 9
10
11
12
13
14
15
16
17
18
19
20
21
22
|
@SpringBootApplication
@EnableDiscoveryClient
@EnableFeignClients(basePackages = "com.xingyys.hystrix.remote")
@EnableHystrixDashboard
@EnableCircuitBreaker
public class HystrixApplication {
    // spring cloud 2.x需要自己指定
    @Bean(name = "HystrixMetricsStreamServlet")
    public ServletRegistrationBean getServlet(){
        HystrixMetricsStreamServlet streamServlet = new HystrixMetricsStreamServlet();
        ServletRegistrationBean registrationBean = new ServletRegistrationBean(streamServlet);
        registrationBean.setLoadOnStartup(1);
        registrationBean.addUrlMappings("/actuator/hystrix.stream");
        registrationBean.setName("HystrixMetricsStreamServlet");
        return registrationBean;
    }

    public static void main(String[] args) {
        SpringApplication.run(HystrixApplication.class, args);
    }

}
|
以此启动应用:
1
2
3
4
|
java -jar target/discovery-0.0.1-SNAPSHOT.jar
java -jar target/hystrix-0.0.1-SNAPSHOT.jar --spring.profiles.active=node01
java -jar target/hystrix-0.0.1-SNAPSHOT.jar --spring.profiles.active=node02
java -jar target/turbine-0.0.1-SNAPSHOT.jar
|
访问http://127.0.0.1:8081/turbine.stream,返回
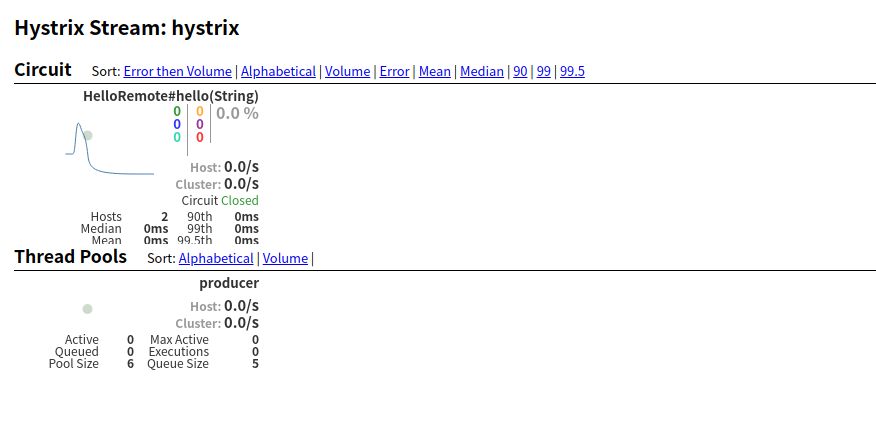
访问http://127.0.0.1:8081/hystrix并填写表单,出现以下页面:

注:假如一直在loading,请刷新node01或node02节点的/hello/neo页面,但要保证服务的提供应用关闭.

 hystrix-dashboard显示的各项信息含义:
 到这里,单节点的监控就完成了.